
Introduction: Why Homemade Granola Bars Are Better Than Store-Bought
Homemade granola bars have become a favorite among health-conscious eaters, parents, athletes, and anyone looking for a quick, nutritious snack. Unlike store-bought bars that often contain excessive sugar, preservatives, and artificial flavors, homemade versions allow you to control every ingredient.
Not only are they healthier, but they’re also budget-friendly, customizable, and easy to prepare. Whether you prefer chewy, crunchy, or protein-packed granola bars, you can adapt recipes to suit your lifestyle and dietary needs.
Benefits of Making Homemade Granola Bars
1. Healthier Ingredients
You control the amount of sugar, fats, and added flavors. Using natural sweeteners like honey or maple syrup makes them guilt-free.
2. Customizable Flavors
Add your favorite nuts, seeds, dried fruits, chocolate chips, or spices to create endless flavor combinations.
3. Budget-Friendly
Homemade bars cost a fraction of store-bought versions, especially when making them in bulk.
4. Dietary Flexibility
Whether you’re vegan, gluten-free, or keto, recipes can easily be adapted.
Essential Ingredients for Homemade Granola Bars
Here are the core building blocks of most granola bars:
- Base Grains: Rolled oats, quinoa flakes, puffed rice
- Binders: Honey, maple syrup, peanut butter, almond butter, dates
- Healthy Fats: Coconut oil, nut butters, chia seeds, flax seeds
- Crunch Factor: Nuts (almonds, walnuts, cashews), seeds (pumpkin, sunflower)
- Sweeteners: Honey, maple syrup, agave, or coconut sugar
- Flavor Enhancers: Cinnamon, vanilla extract, cocoa powder
- Optional Add-Ins: Chocolate chips, shredded coconut, dried berries
Step-by-Step Guide: How to Make Homemade Granola Bars
Step 1: Toast the Oats and Nuts
This step enhances flavor and adds crunch.
Step 2: Prepare the Binder
Heat honey or maple syrup with nut butter until smooth.
Step 3: Combine Dry and Wet Ingredients
Mix toasted oats, nuts, and seeds with your binder.
Step 4: Press into a Pan
Use parchment paper to prevent sticking. Press firmly to avoid crumbling.
Step 5: Chill or Bake
- No-bake version: Refrigerate for at least 2 hours.
- Baked version: Bake at 350°F for 20–25 minutes.
Step 6: Slice and Store
Cut into bars and store in an airtight container for up to 2 weeks.
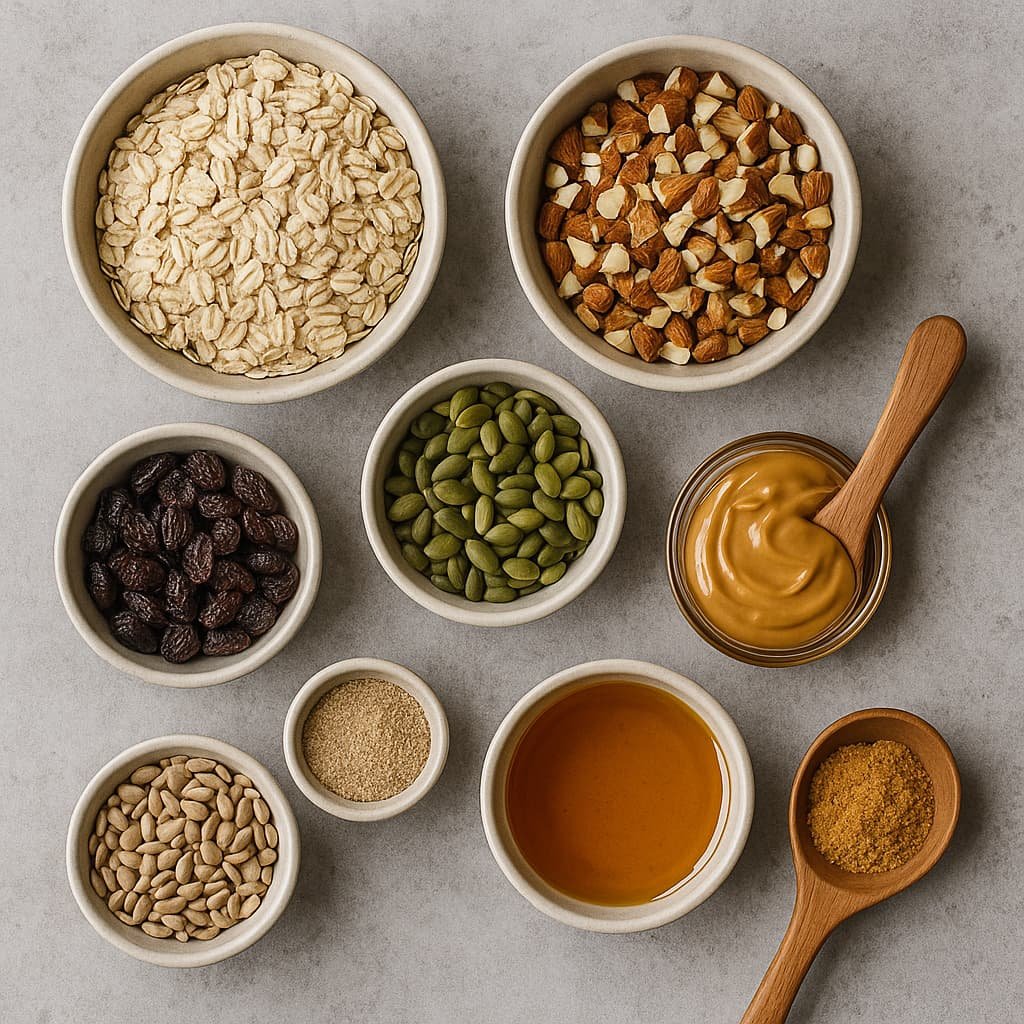
Table: Nutritional Comparison – Store-Bought vs. Homemade Granola Bars
| Type of Granola Bar | Calories (per bar) | Sugar (g) | Protein (g) | Fiber (g) | Additives |
|---|---|---|---|---|---|
| Store-Bought (average) | 220–250 | 12–18 | 4–6 | 2–3 | Yes |
| Homemade Granola Bar | 150–200 | 5–8 | 6–10 | 3–5 | No |
| Protein-Boosted Homemade | 180–220 | 6–9 | 10–15 | 3–6 | No |
| Vegan Homemade Version | 160–200 | 6–10 | 5–8 | 3–6 | No |
Values vary depending on ingredients used.
Popular Homemade Granola Bar Recipes
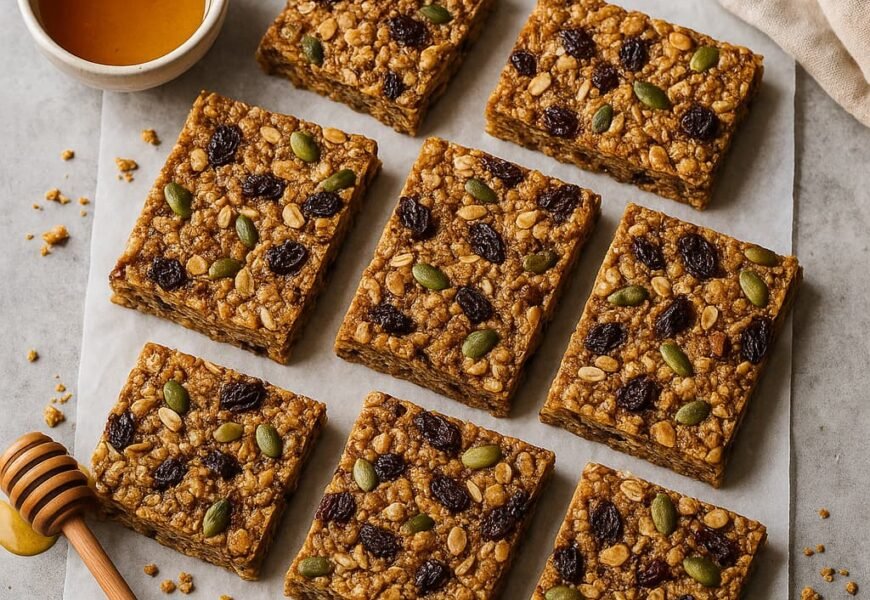
1. Classic Chewy Granola Bars
- Rolled oats, honey, peanut butter, raisins, and almonds.
- Perfect for kids’ lunchboxes.
2. Chocolate Chip Protein Bars
- Oats, almond butter, protein powder, dark chocolate chips.
- Great for post-workout recovery.
3. Vegan Granola Bars
- Maple syrup, almond butter, chia seeds, coconut flakes.
- 100% plant-based and nutrient-dense.
4. Crunchy Nut & Seed Bars
- Toasted oats, sunflower seeds, pumpkin seeds, cashews.
- Baked for extra crunch.
5. Breakfast Granola Bars
- Oats, dried cranberries, flax seeds, yogurt chips.
- Perfect for a quick breakfast on-the-go.
Tips for Perfect Homemade Granola Bars
- Press Firmly: Use a spatula or the back of a measuring cup to pack tightly.
- Add Variety: Mix sweet and savory elements for unique flavors.
- Use Parchment Paper: Prevents sticking and makes slicing easier.
- Store Properly: Keep in airtight containers; freeze for long-term storage.
- Cut When Cool: Avoid crumbling by waiting until bars are fully chilled.
Storage and Shelf Life
- Room Temperature: Up to 1 week in an airtight container.
- Refrigerator: 2–3 weeks for maximum freshness.
- Freezer: Up to 3 months; wrap individually for convenience.
Homemade Granola Bars for Special Diets
- Gluten-Free: Use certified gluten-free oats.
- Keto-Friendly: Replace oats with nuts, seeds, and sugar-free binders.
- High-Protein: Add whey, pea, or hemp protein powder.
- Low-Sugar: Use unsweetened dried fruits or monk fruit sweetener.
Frequently Asked Questions (FAQs)
1. Are homemade granola bars healthier than store-bought?
Yes! You control the ingredients and avoid added sugars and preservatives.
2. Can I make granola bars without baking?
Absolutely. No-bake granola bars are simple and just as tasty.
3. What’s the best binder for chewy granola bars?
Honey or maple syrup combined with nut butter creates the best texture.
4. How can I make granola bars more filling?
Add protein powder, seeds, and healthy fats to increase satiety.
5. Can I freeze homemade granola bars?
Yes, they freeze well for up to 3 months.
Conclusion: Why Homemade Granola Bars Are Worth It
Making homemade granola bars is a rewarding process that saves money, promotes healthy eating, and provides endless customization. With just a few simple ingredients and minimal effort, you can create nutritious snacks tailored to your taste and lifestyle.
Whether you’re looking for healthy breakfast bars, energy-packed snacks, or kid-friendly treats, homemade granola bars are the perfect choice. Try experimenting with flavors, and soon you’ll never go back to store-bought again!